How to Clean Instruments Before Autoclave Sterilization
Effective cleaning is the foundation of safe sterilization. Here’s a step-by-step guide to doing it right—avoiding mistakes that could compromise results and materials.

If you’ve ever found residue after what should have been a “proper” autoclave cycle, you already know that pre-cleaning isn’t just a prep step – it’s the foundation of the entire process.
In this article, we get straight to the point: what to do, how to do it, and why it matters.
Why Is Pre-Cleaning So Essential?
Autoclaves use saturated steam under high pressure, but that steam can’t penetrate dried debris, grease, blood, or poorly rinsed detergents.
Think of it like trying to disinfect through a layer of mud – it simply doesn’t work. If the instruments aren’t clean, they won’t be sterile.
The goal of pre-cleaning is to remove:
- Organic matter (blood, tissues, bodily fluids)
- Inorganic residues (salts, oxides)
- Chemical residues (detergents, lubricants)
- Biofilms and invisible contaminants
The objective is simple: clean, smooth surfaces free of anything that could interfere with the autoclave’s sterilization cycle.
Key Stages for Effective Cleaning
1. Clean Right After Use
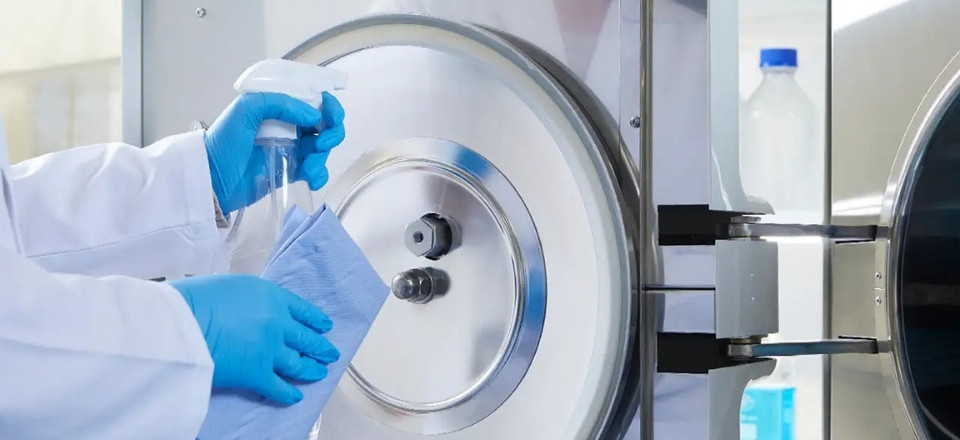
Don’t let contaminants dry. Ideally, remove the bulk of debris at the point of use with a clean, damp cloth. If there’s going to be a delay before cleaning, apply an enzymatic gel or foam to keep organic material moist. This saves both time and wear on your equipment.
⚠️ Important: Never soak instruments in saline. Sodium chloride accelerates corrosion, especially on stainless steel.

2. Safe Transport
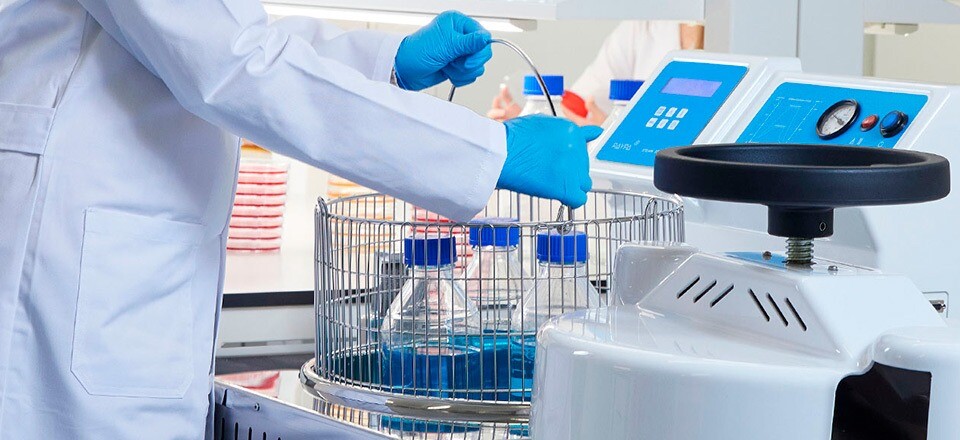
Use a sealed, clearly labeled tray to avoid spills, injuries, or cross-contamination. And yes, personal protective equipment (PPE) is non-negotiable: thick gloves, protective eyewear, and a fluid-resistant lab coat.
3. Manual or Mechanical Cleaning
Manual (when necessary or for delicate items)
- Use soft-bristled brushes (never metal).
- Apply enzymatic detergent and scrub all surfaces, especially hinges and crevices.
- Disassemble items if their design allows.
- Rinse with distilled or demineralized water. Avoid tap water whenever possible.
Mechanical (washer-disinfector or ultrasonic cleaner)
- Load without overcrowding to ensure all surfaces are reached.
- Follow the manufacturer’s recommended cycles.
- Regularly check filters, spray nozzles, and water temperature.
4. Inspection: Look Closely
Before you even think about sterilization, inspect the instruments thoroughly. Use bright white light or magnification if needed. Check hidden areas, threads, and lumens. If you spot any residue, clean again. There are no shortcuts here.
5. Complete Drying
Instruments must be completely dry before going into the autoclave. Why? Residual moisture can create air pockets or film that blocks steam penetration. Trapped water also promotes corrosion, especially in joints and hinges.
Avoid wiping with cloths that leave lint. Use filtered compressed air or drying cabinets. And if you’re applying surgical lubricant, make sure everything is bone dry – moisture can dilute the lubricant or carry it where it doesn’t belong.
Recommended Products That Work
- Enzymatic detergents: Effective, safe, and non-corrosive
- Nylon brushes: Use different sizes depending on the instrument
- Surgical lubricants: Water-based and silicone-free
- Humectant gels: Keep residues moist until cleaning
- Cleaning indicators: Test strips for detecting protein or residue
Common Mistakes We See Often
- Leaving instruments dirty for hours
- Using inappropriate products (bleach, saline, or unneutralized disinfectants)
- Not disassembling complex instruments
- Skipping the rinse or using tap water
- Assuming “looks clean” means “is clean”
Risks of Inadequate Cleaning
Poor cleaning doesn’t just block sterilization. It also promotes premature corrosion, leaves permanent stains and puts users at risk. Can invalidate entire production batches in pharmaceutical settings.

Cleaning Tips by Material Type
Stainless steel: Always dry thoroughly. Avoid prolonged exposure to salts or chlorides.
Laboratory glassware: Use soft brushes only. Rinse well with demineralized water to prevent spots or chemical interference.
Plastics: Ensure they’re autoclavable. Use compatible detergents, as some plastics can warp or degrade.
Silicone or rubber stoppers: Wash with mild detergent, rinse well with demineralized water, and dry thoroughly. Avoid harsh products and confirm autoclave compatibility.
Other materials: Always check the manufacturer’s guidance for cleaning procedures and sterilization compatibility.
Smart Practices That Make a Difference
- Train your staff well – cleaning is a skilled task, not a side job
- Establish clear, visible, and up-to-date protocols
- Conduct spot checks: inspections, residue tests
- Keep records of what was cleaned, how, and when
If you’re serious about sterilization, start with serious cleaning. The autoclave does its job, but it’s not magic.
Clean surfaces are the minimum requirement for effective steam sterilization. Doing it right doesn’t take much more time – but it saves you from big problems later.
Still have questions about how to clean instruments before autoclaving with your RAYPA autoclave? Contact us. We’re happy to help.
Sources
“Prevención del deterioro del instrumental” – Blog El Autoclave – Juan José Criado Álvarez, PhD (España). Source: El Autoclave – Prevención del deterioro del instrumental
Guideline for Disinfection and Sterilization in Healthcare Facilities – CDC (EE.UU.) – Centers for Disease Control and Prevention. Source: CDC – Sterilizing Practices
Recomendaciones para la desinfección y esterilización de los materiales sanitarios – AEMPS (España) – Agencia Española de Medicamentos y Productos Sanitarios (Plan Nacional de Resistencia a Antibióticos). Source: Technical document – PRAN/AEMPS, 2017
“A Day in the Life of a Surgical Instrument: The Cycle of Sterilization” (2024) – Robert E. George et al., Universidad de Wisconsin. Source: PMC – Surgical Instrument Sterilization Lifecycle

